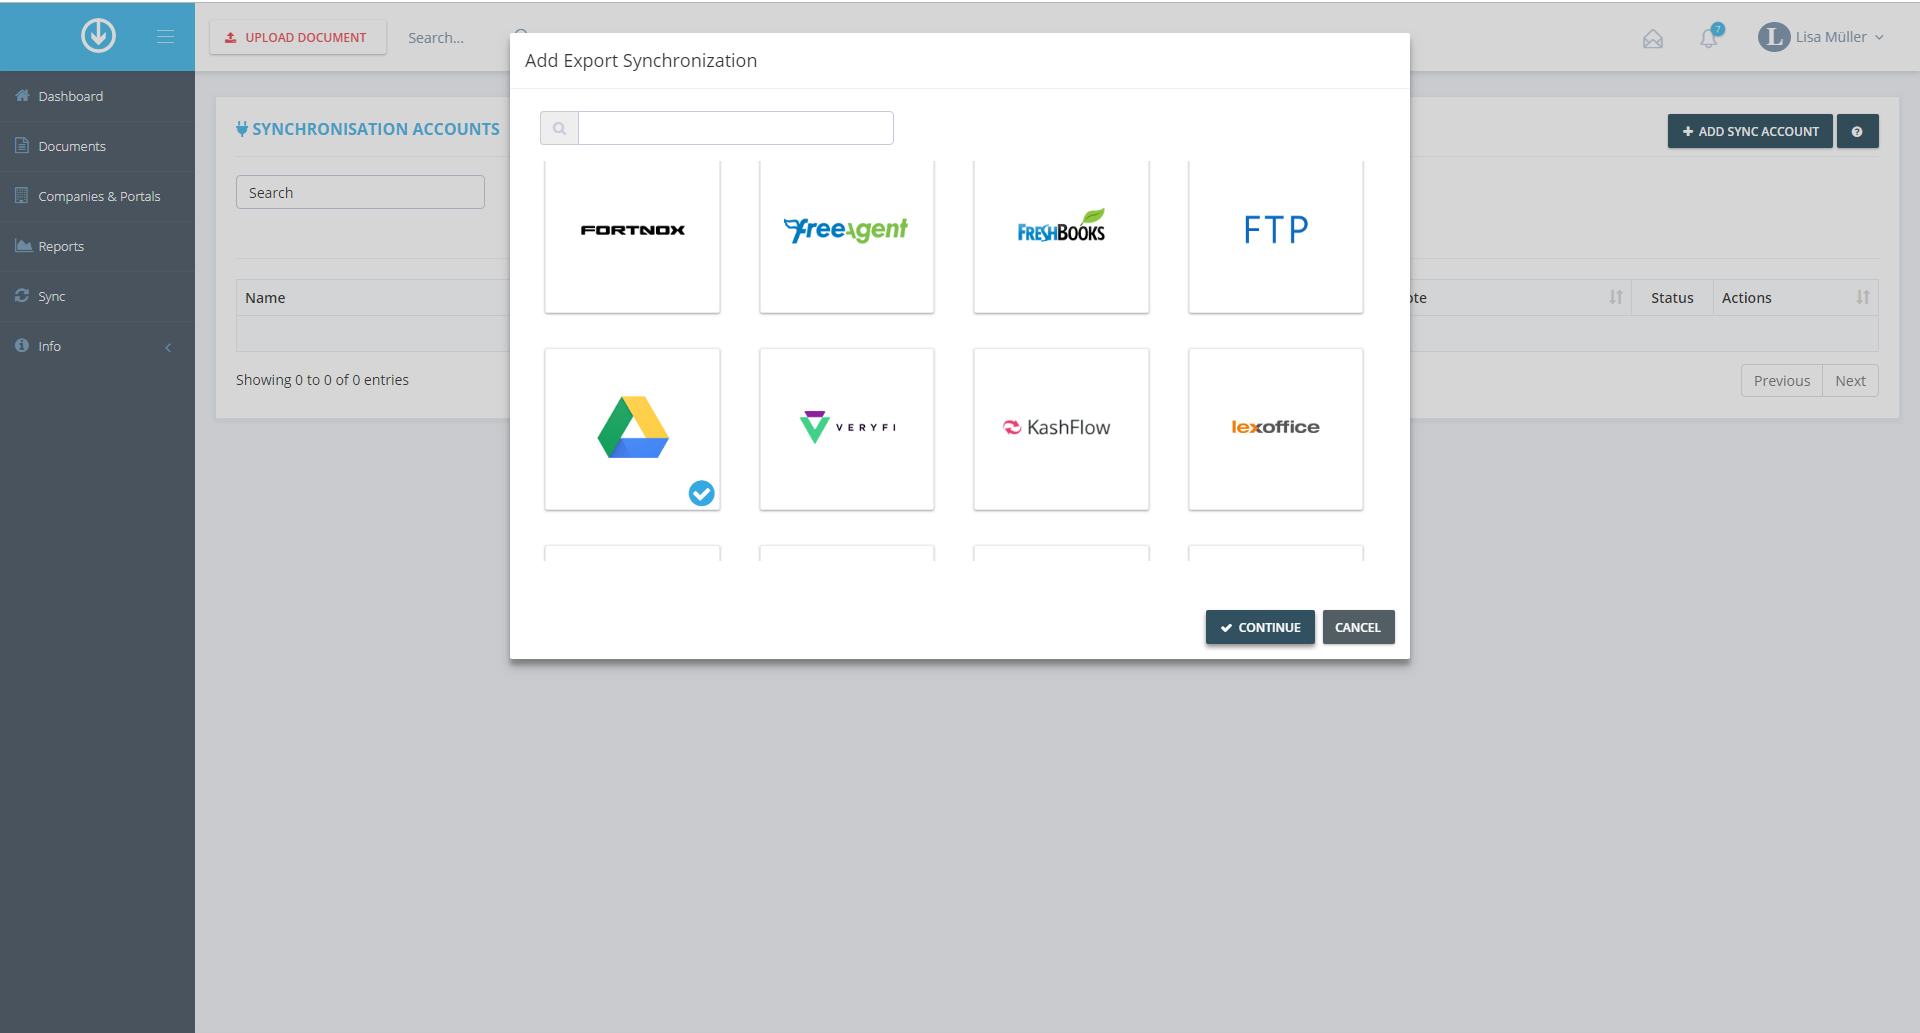
Login to GetMyInvoices > Choose “Synchronization” in the right-hand menu > Click “Add Synchronization Account” > Click “Export” > Choose Google Drive > Click “Continue”!
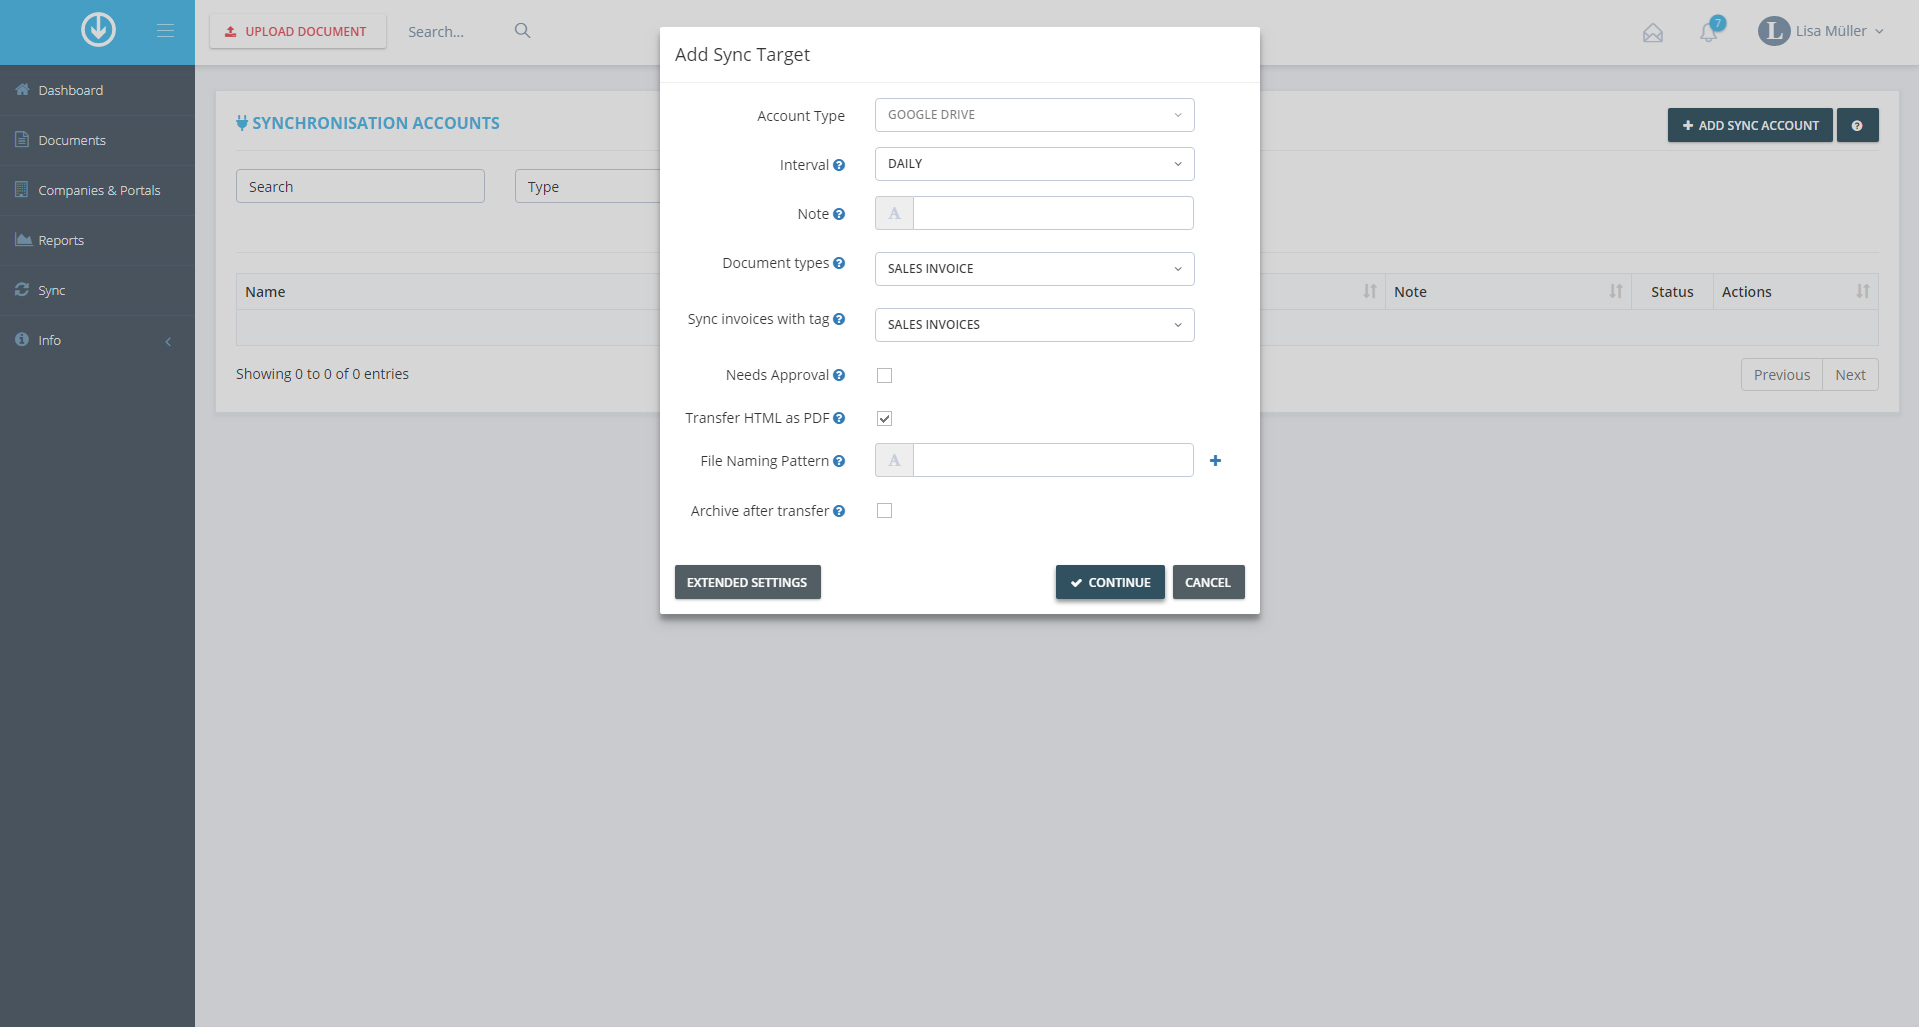
Choose, how often documents are to be synchronized > If required, add a note > Click “Extended Settings” > Specify the document types and tags for export, if needed activate the approval box > Decide whether documents should be archived in GetMyInvoices after transfer > Click “Continue”!
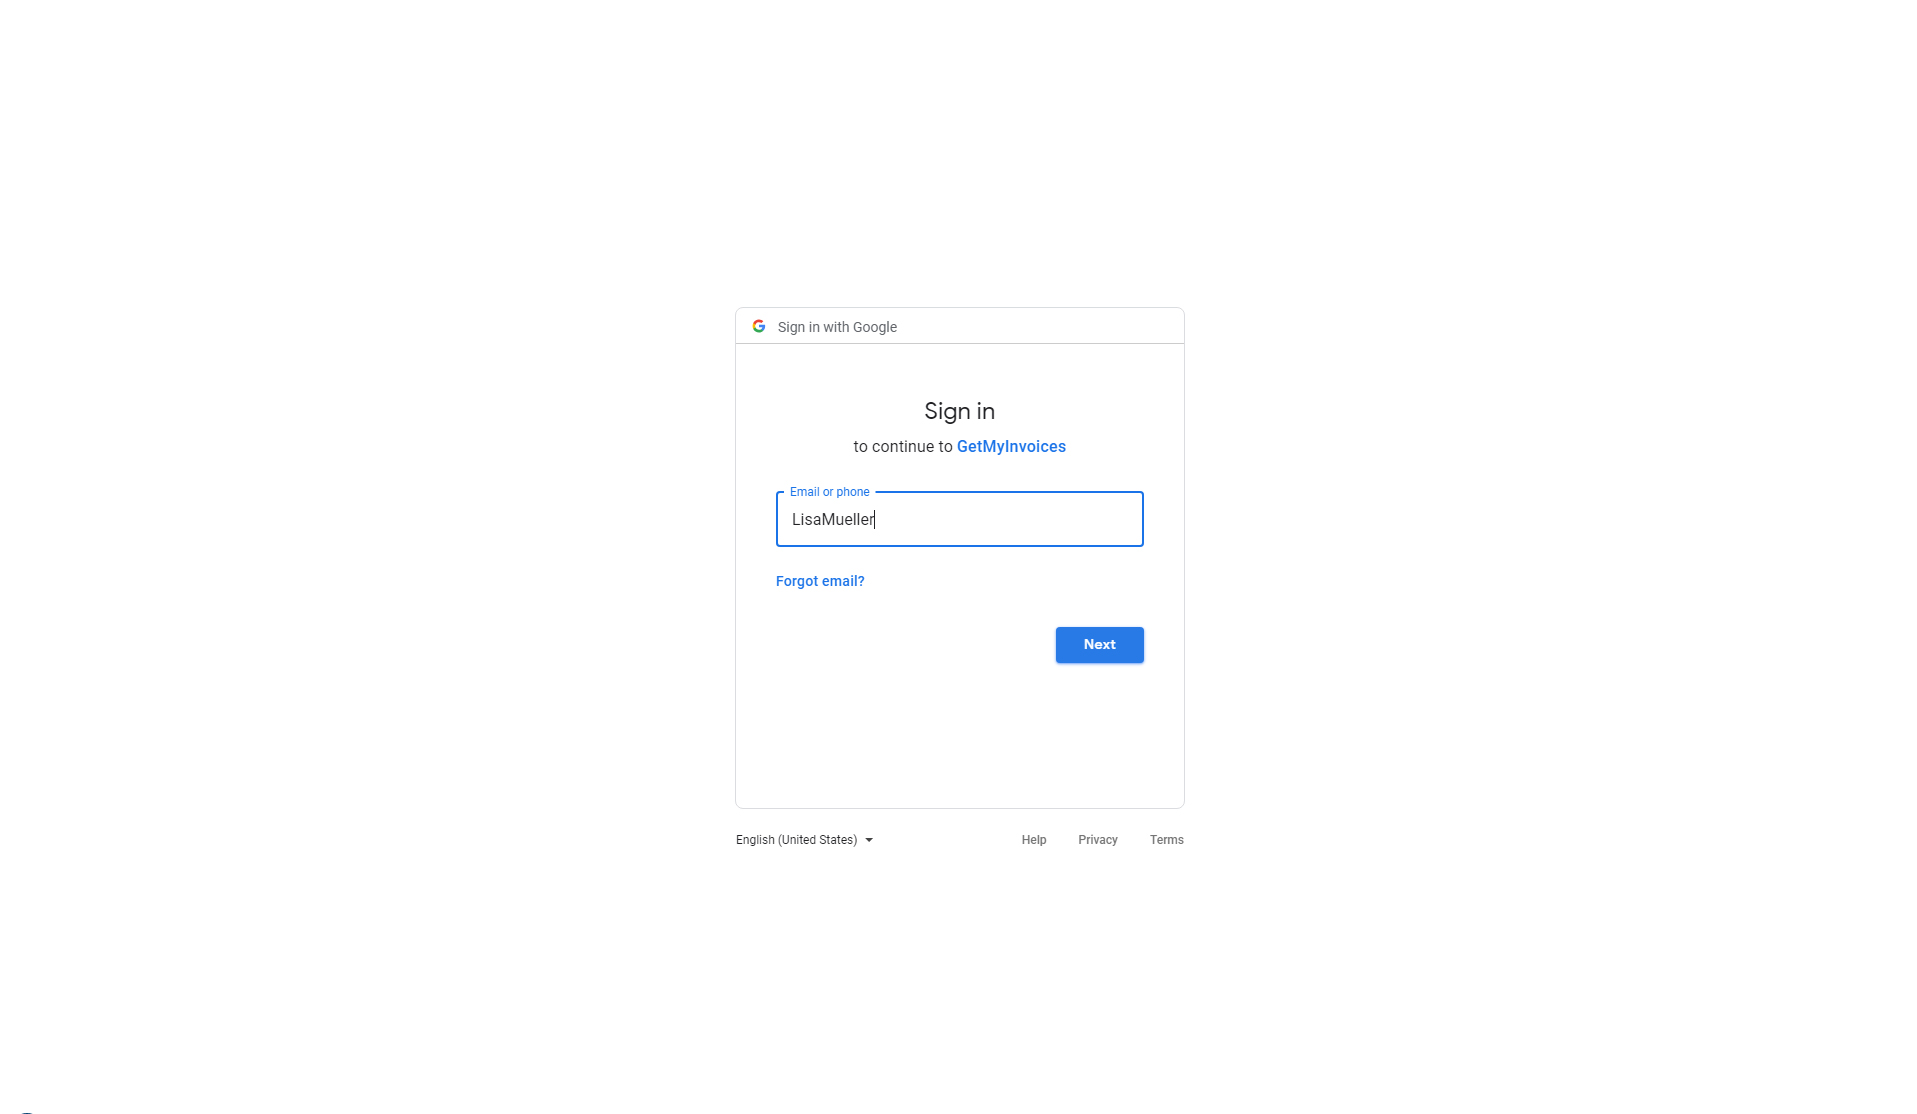
Login to your Google account, using the pop-up window > Authorize GetMyInvoices to retrieve, process, create or delete files in Google Drive by clicking “Allow”!
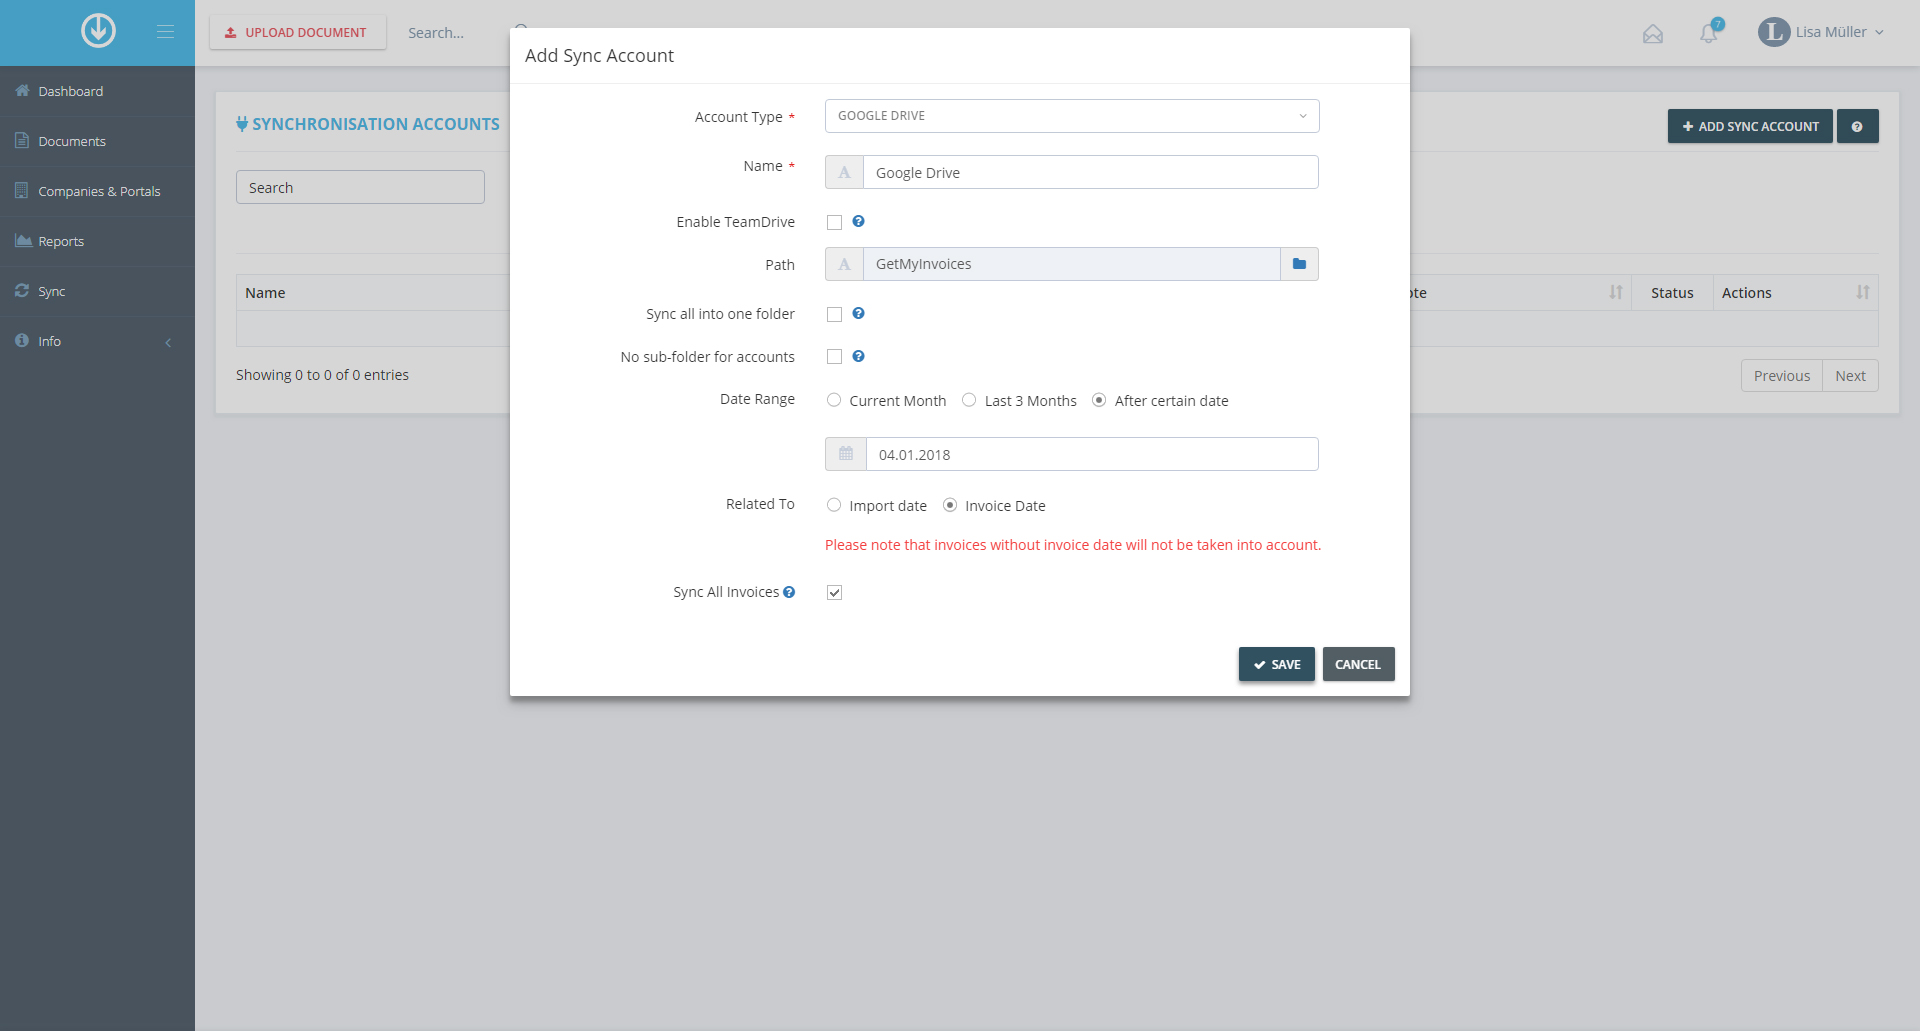
Enter the account type and account name >Choose a folder for exporting documents to under “Path” and click “Continue” > Decide whether all documents should be synchronized in one folder or whether you wish to have subfolders > Define the time frame > Click “Save”!
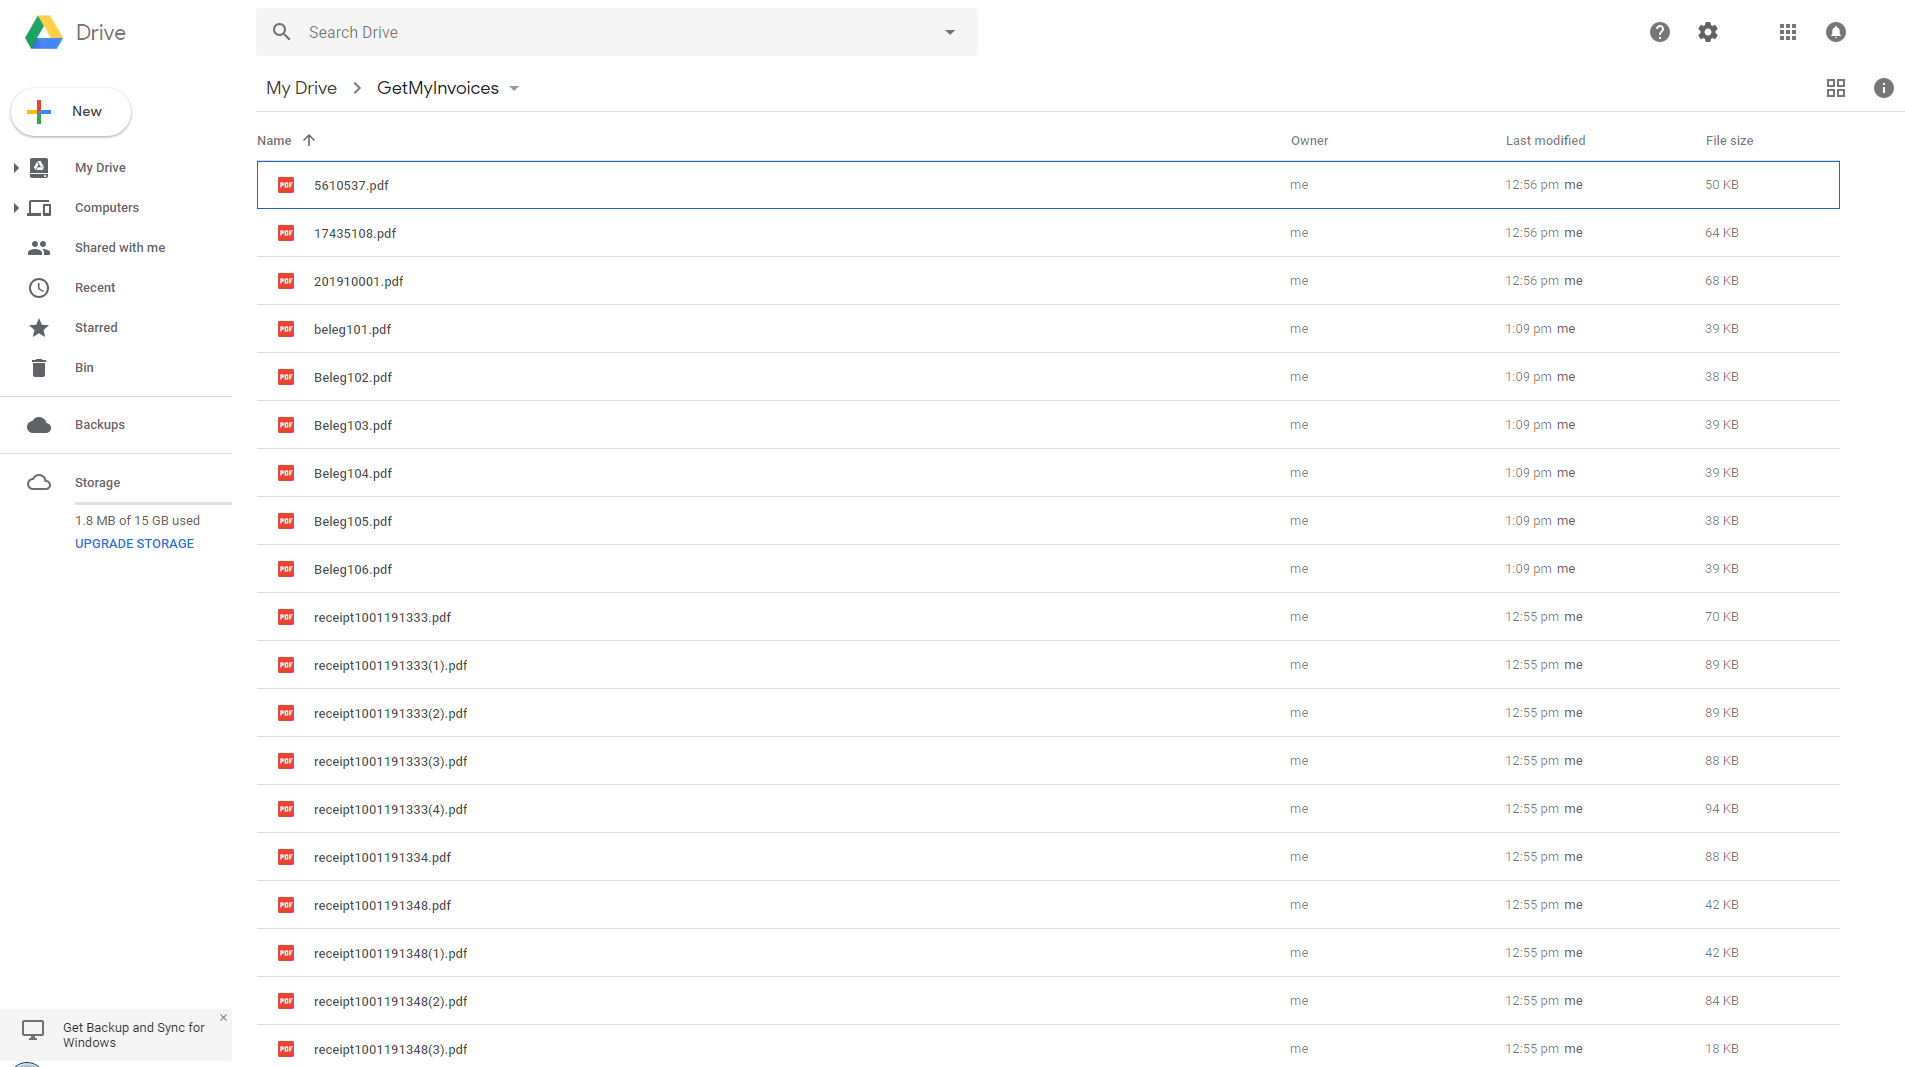
It will only take a short while before you can see the synchronization information under the main menu item “Synchronization”, and just a little longer to find the exported documents in Google Drive. > That’s it!
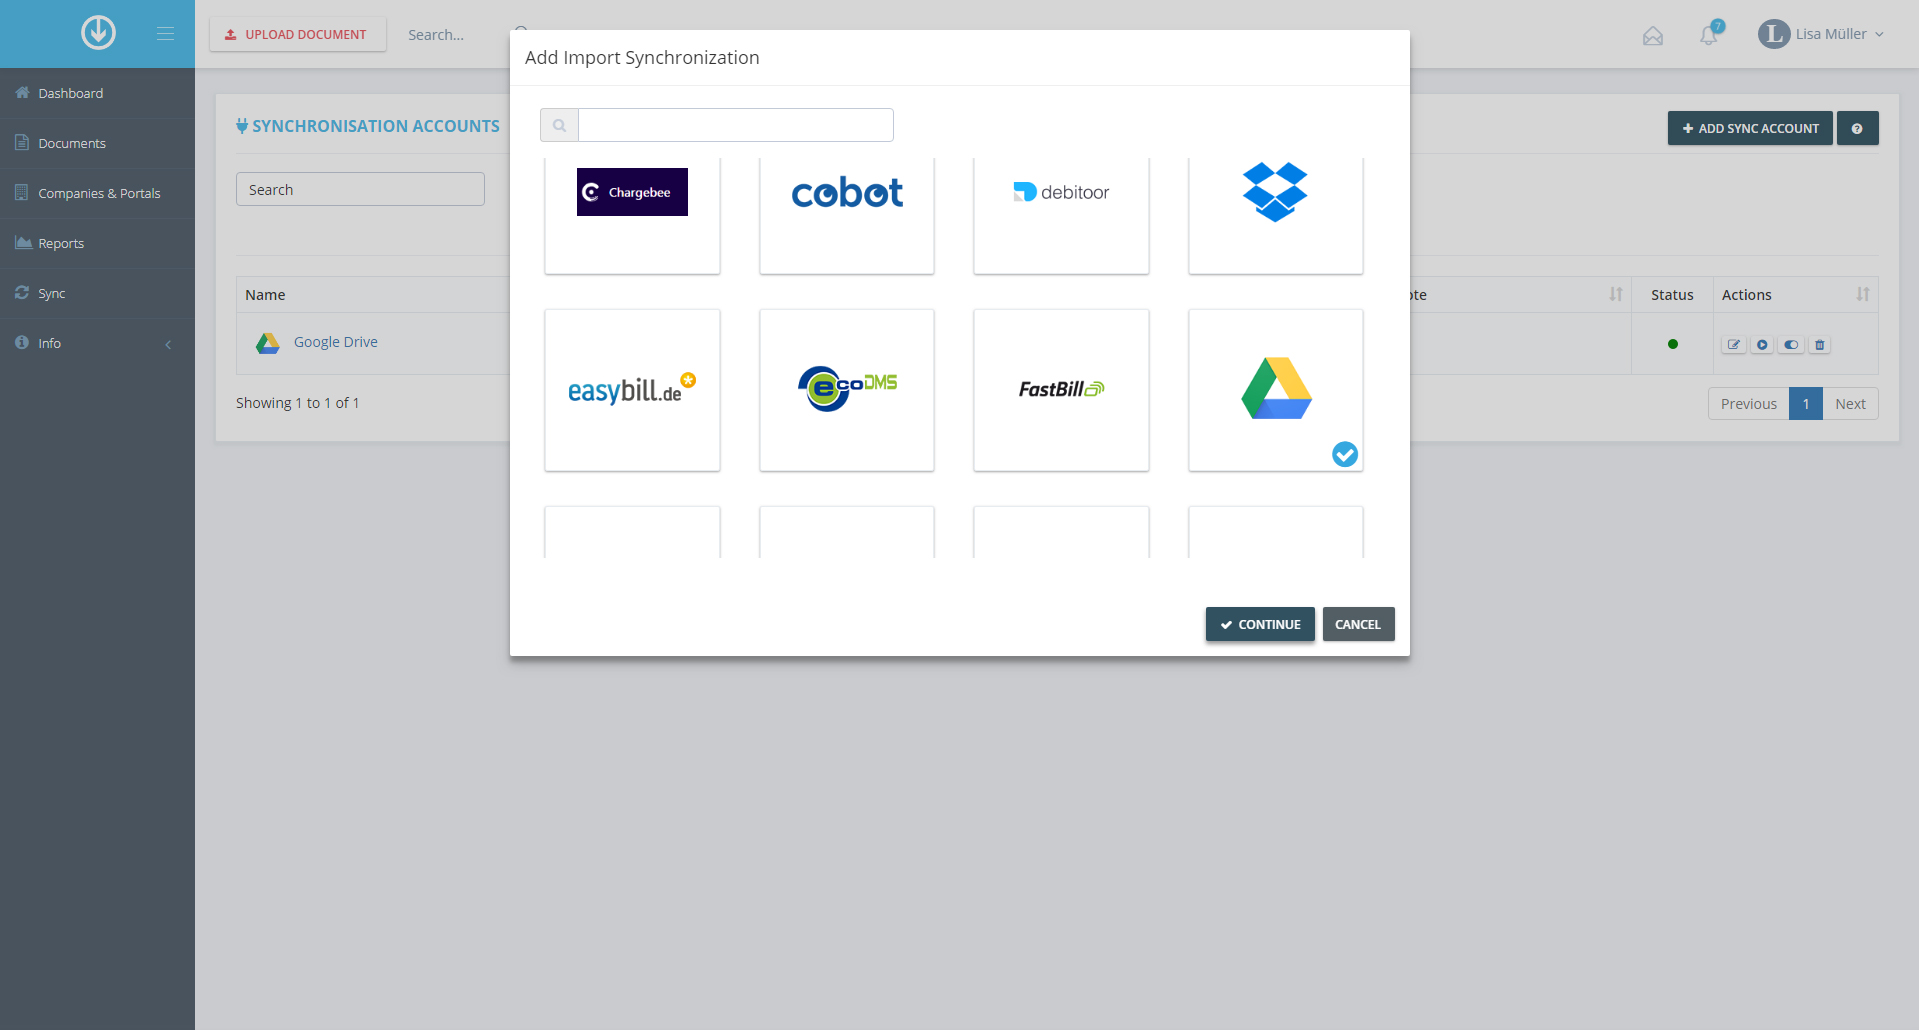
Login to GetMyInvoices > Choose “Synchronization” in the right-hand menu > Click “Add Synchronization Account” > Click “Import”! > Choose Google Drive > Click “Continue”!

Using the pop-up window, login to your Google account > Authorize GetMyInvoices to retrieve, process, create and delete Google Drive files by clicking “Allow”!
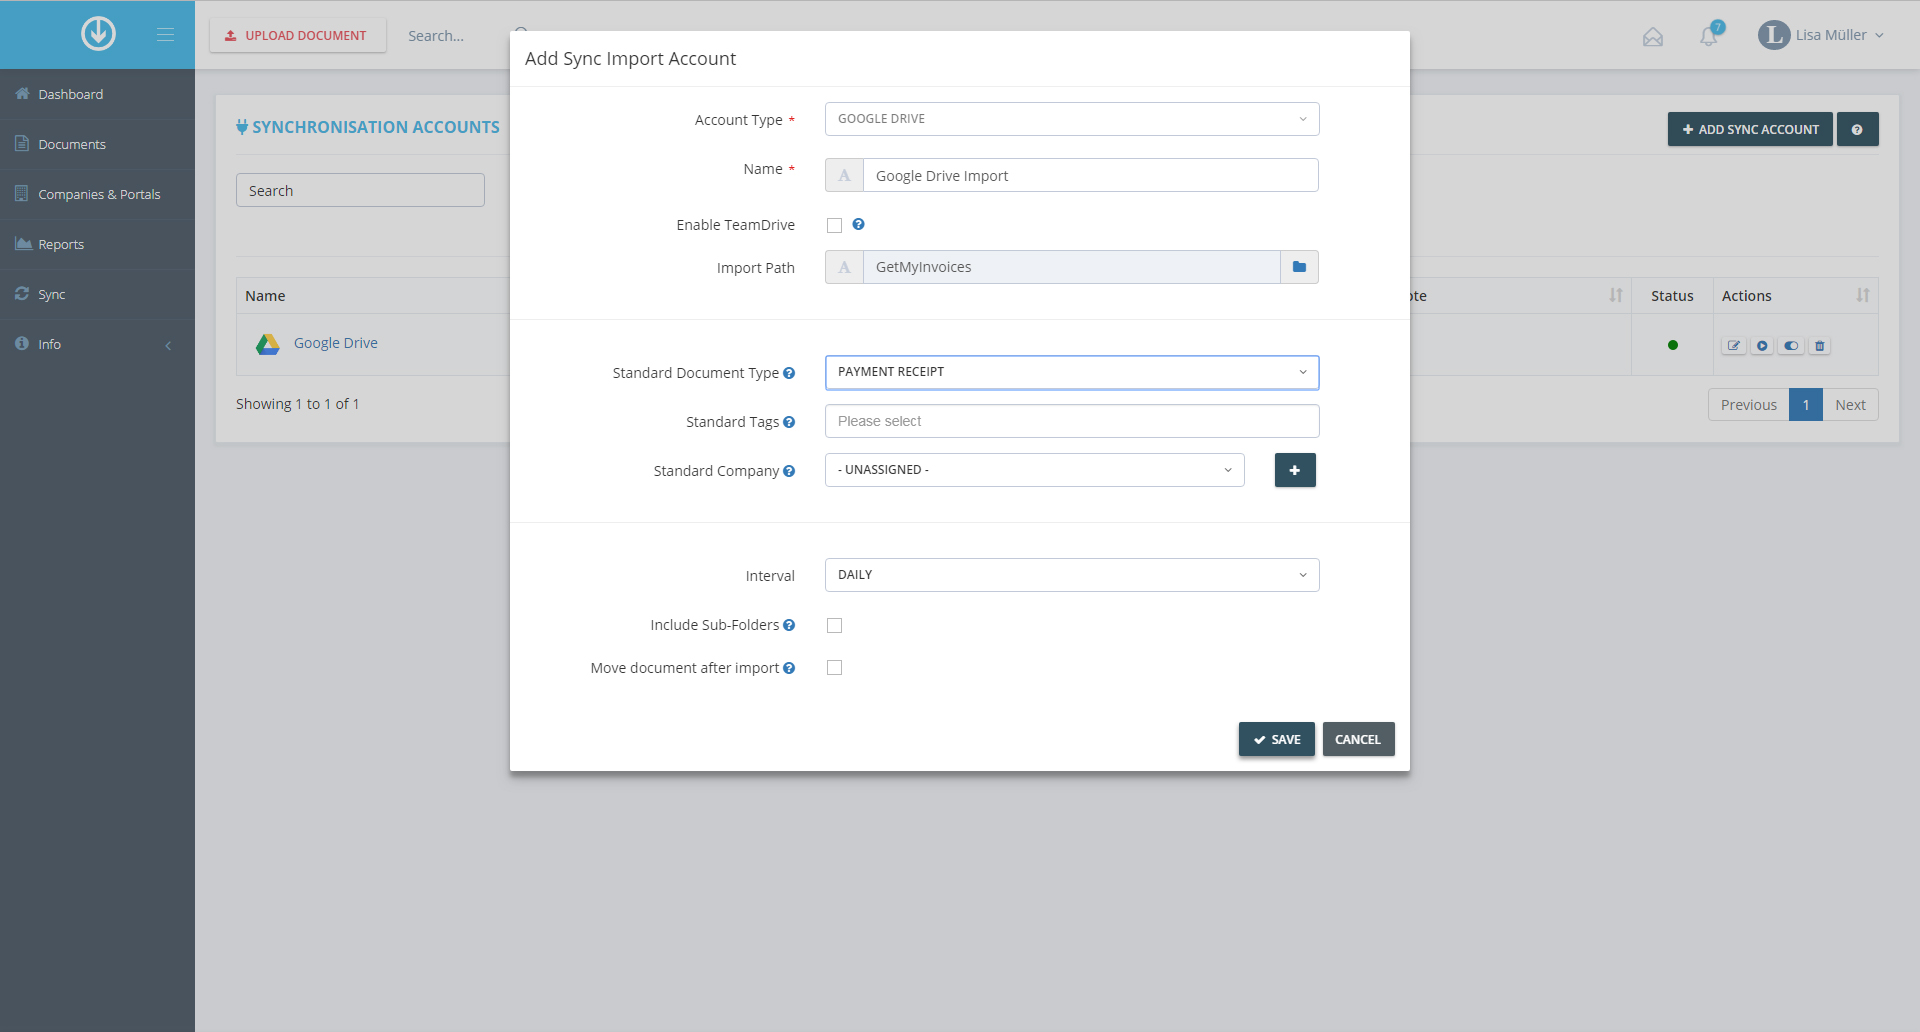
Enter a new name for the account > Under “Import Path”, specify which folder documents should be imported from, and click “Continue”>Fill in the fields “Standard Document Type”, “Standard Tags” and “Standard Company” > Specify the time interval for synchronization > If required, fill in the remaining fields > Click “Save”!
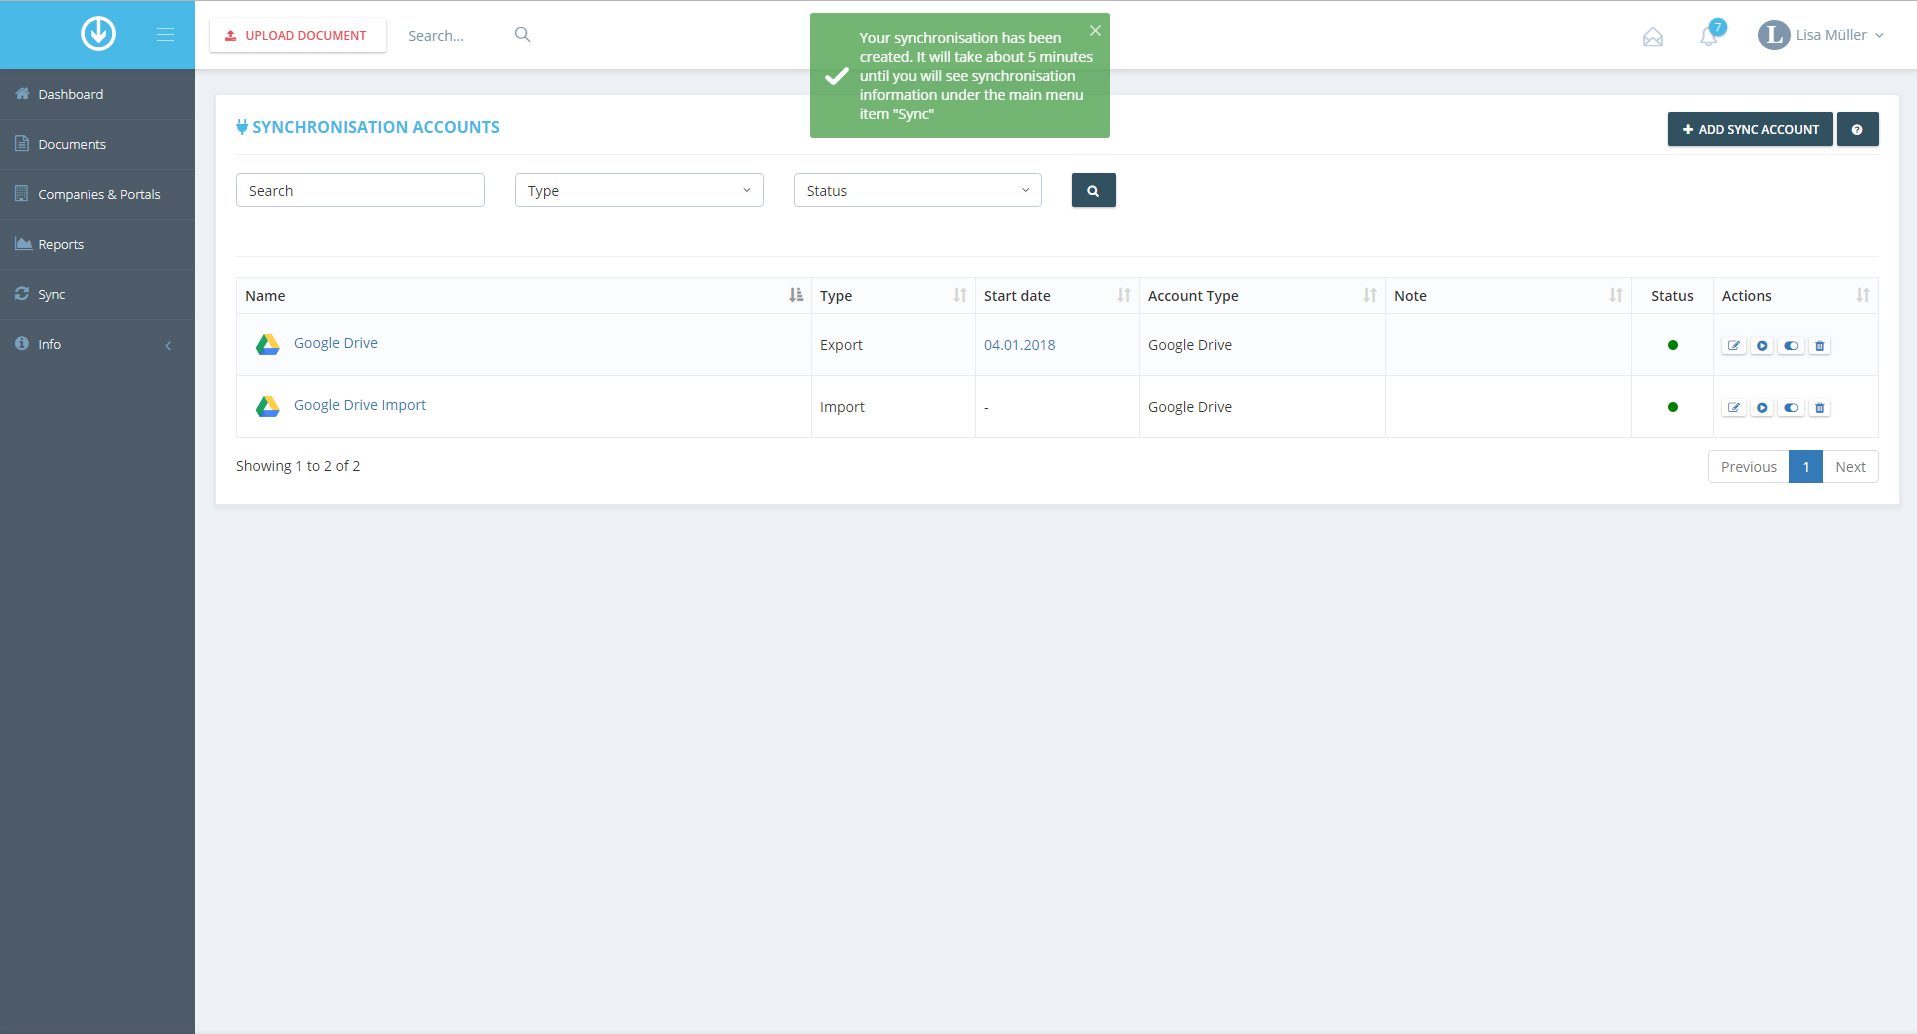
It will take only a short time before you can see the synchronization information under the main menu item “Synchronization”, and shortly after you can find the imported documents. > That’s it!
Google Drive is a file hosting service provided by Google. Through it, users can save documents of all kinds in the cloud, and then access those from any smart phone, tablet or computer. Google Drive also enables the simple sharing, downloading and co-processing of documents.
GetMyInvoices automates the file transfer into and out of Google Drive. Users can export documents from GetMyInvoices to Google Drive, as well as import invoices or receipts saved in Google Drive to GetMyInvoices, and transfer or forward them from there – depending on how it suits your workflow.