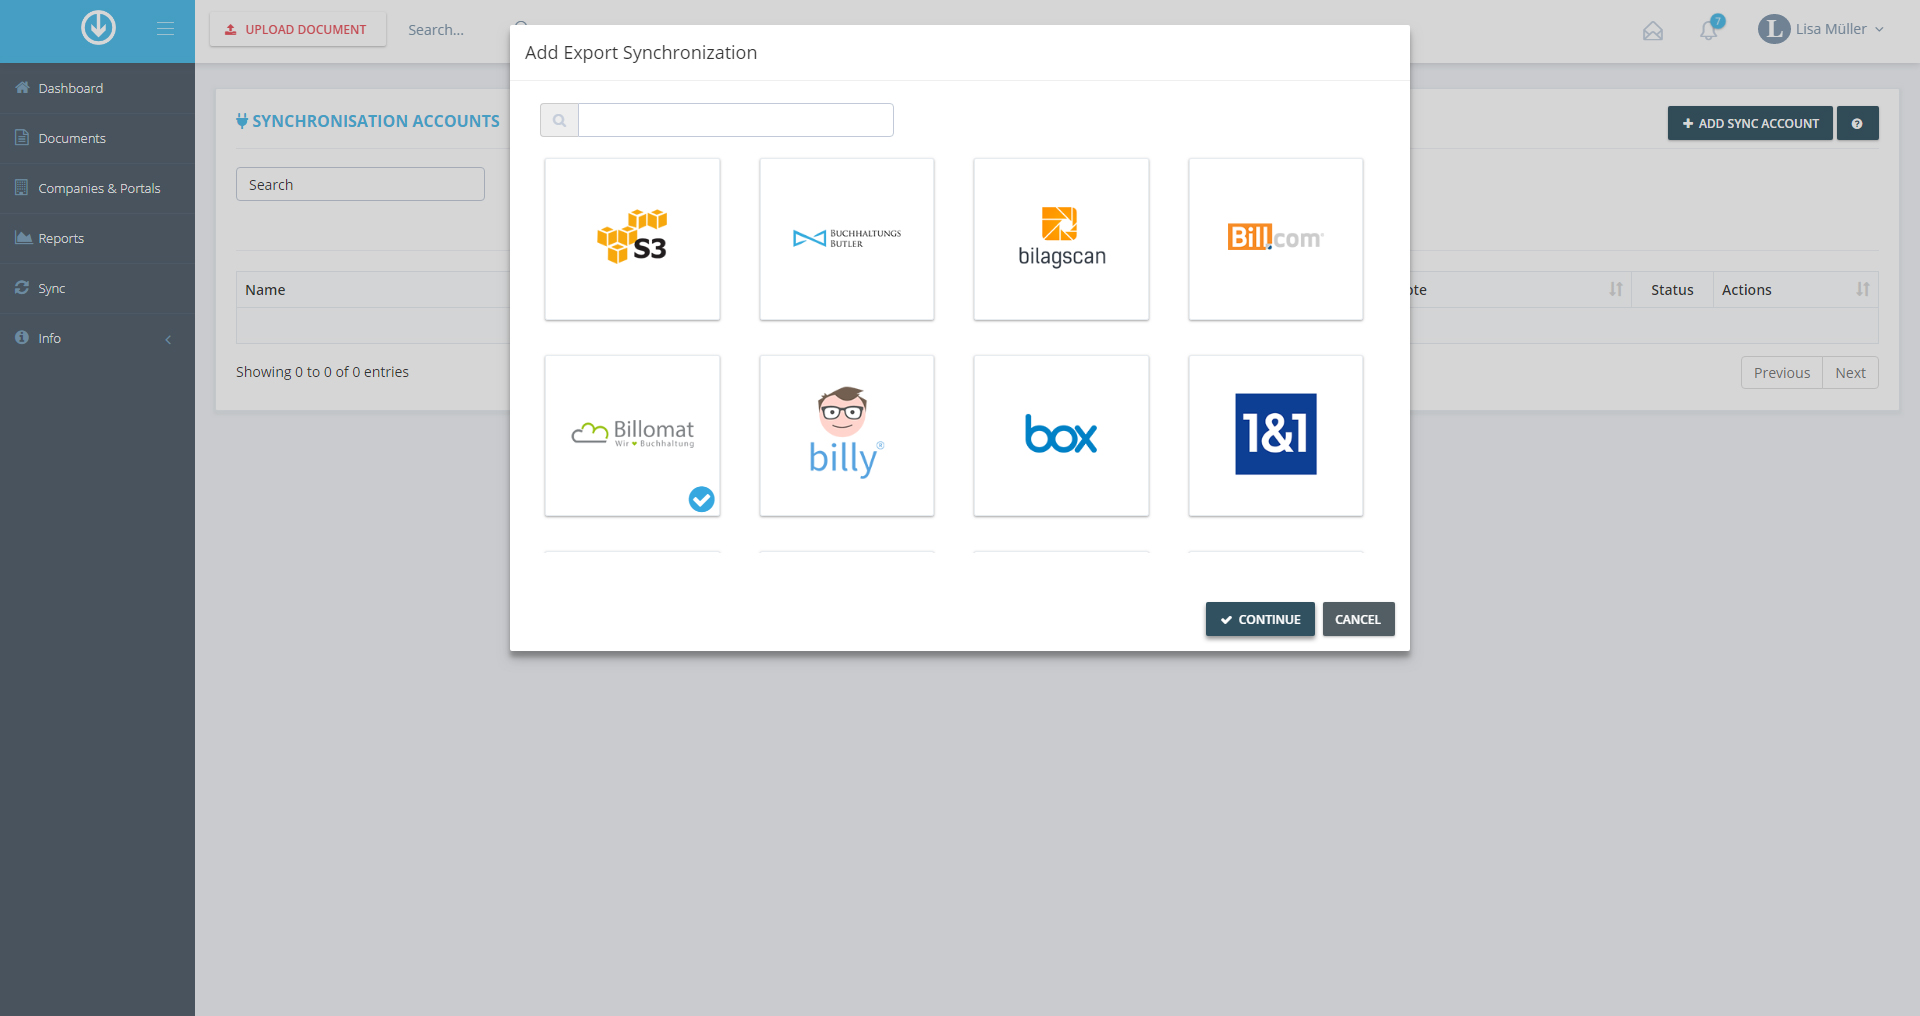
Login to GetMyInvoices > Choose “Synchronization” in the right-hand menu > Click “Add Synchronization Account” > Click “Export” > Choose Billomat> Click “Continue”!
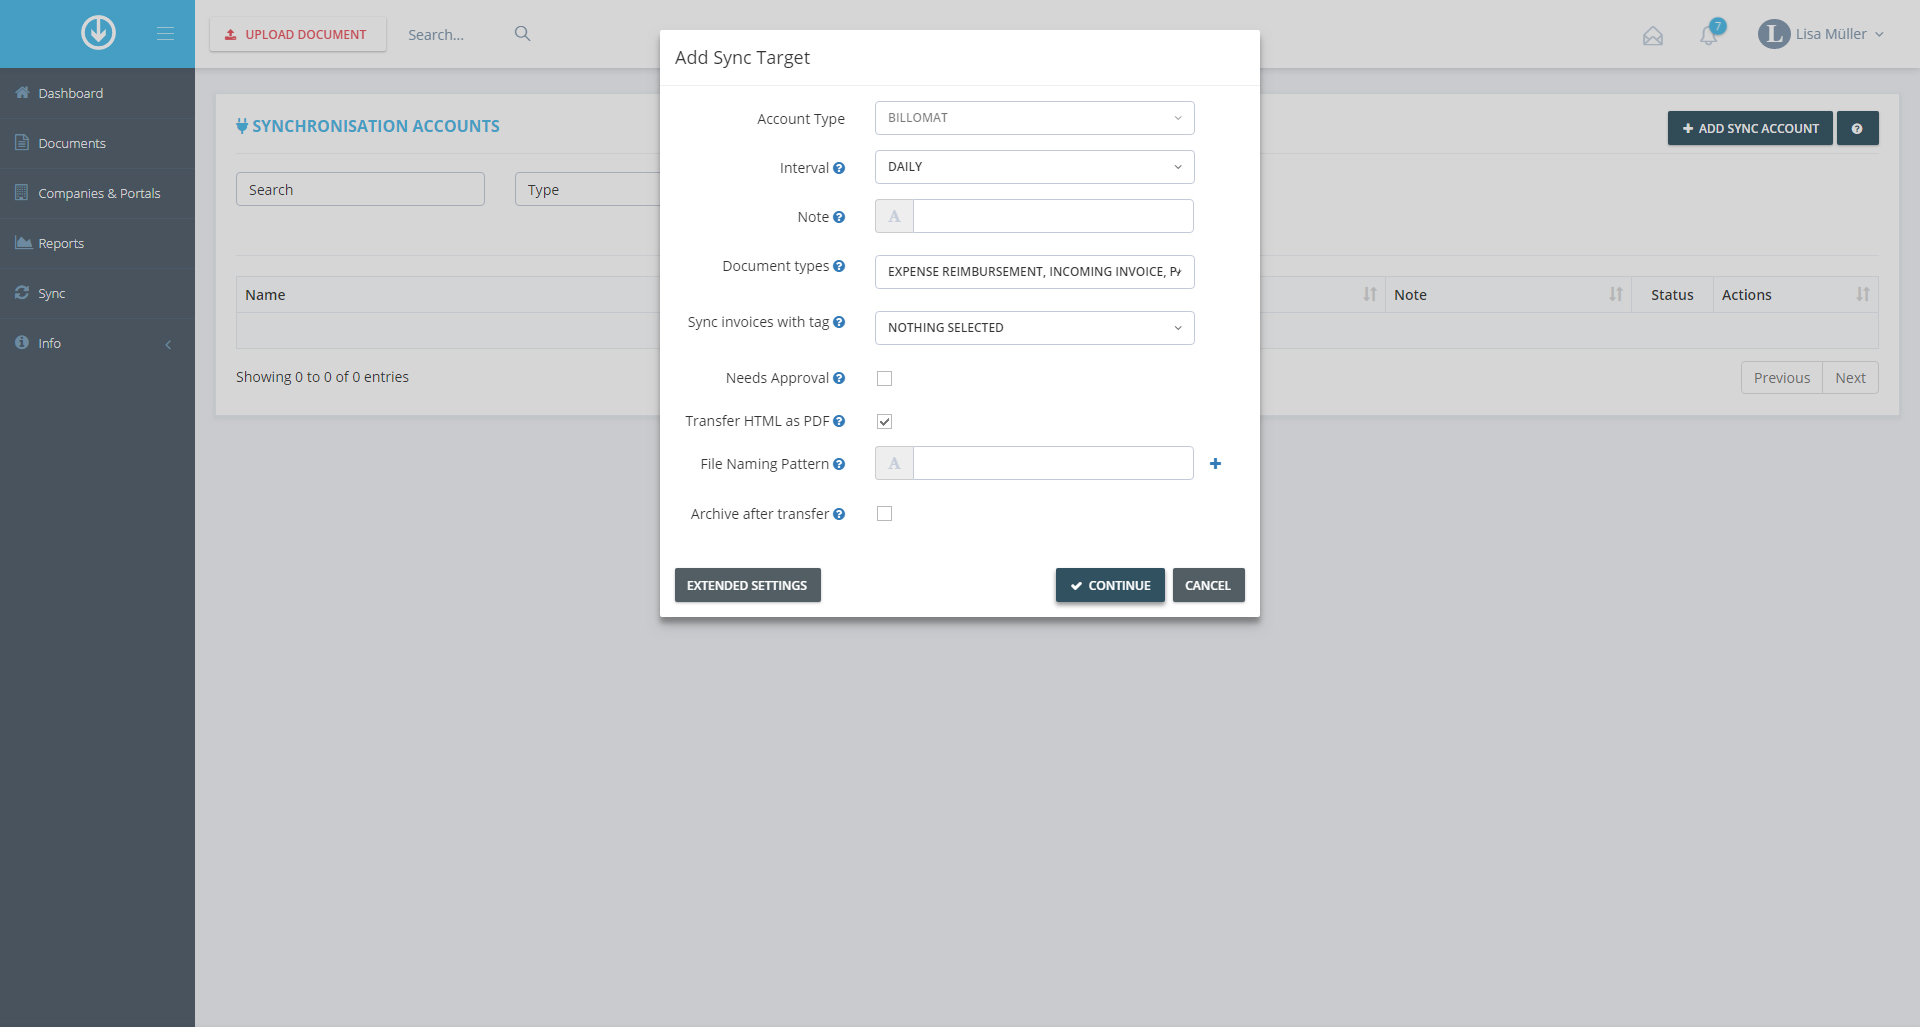
Define the time interval for document synchronization > Add a note, if required > Click “Extended Settings” > Specify the export document types and tags, if needed activate the approval field > Decide whether documents should be archived in GetMyInvoices after transfer > Click “Continue”!
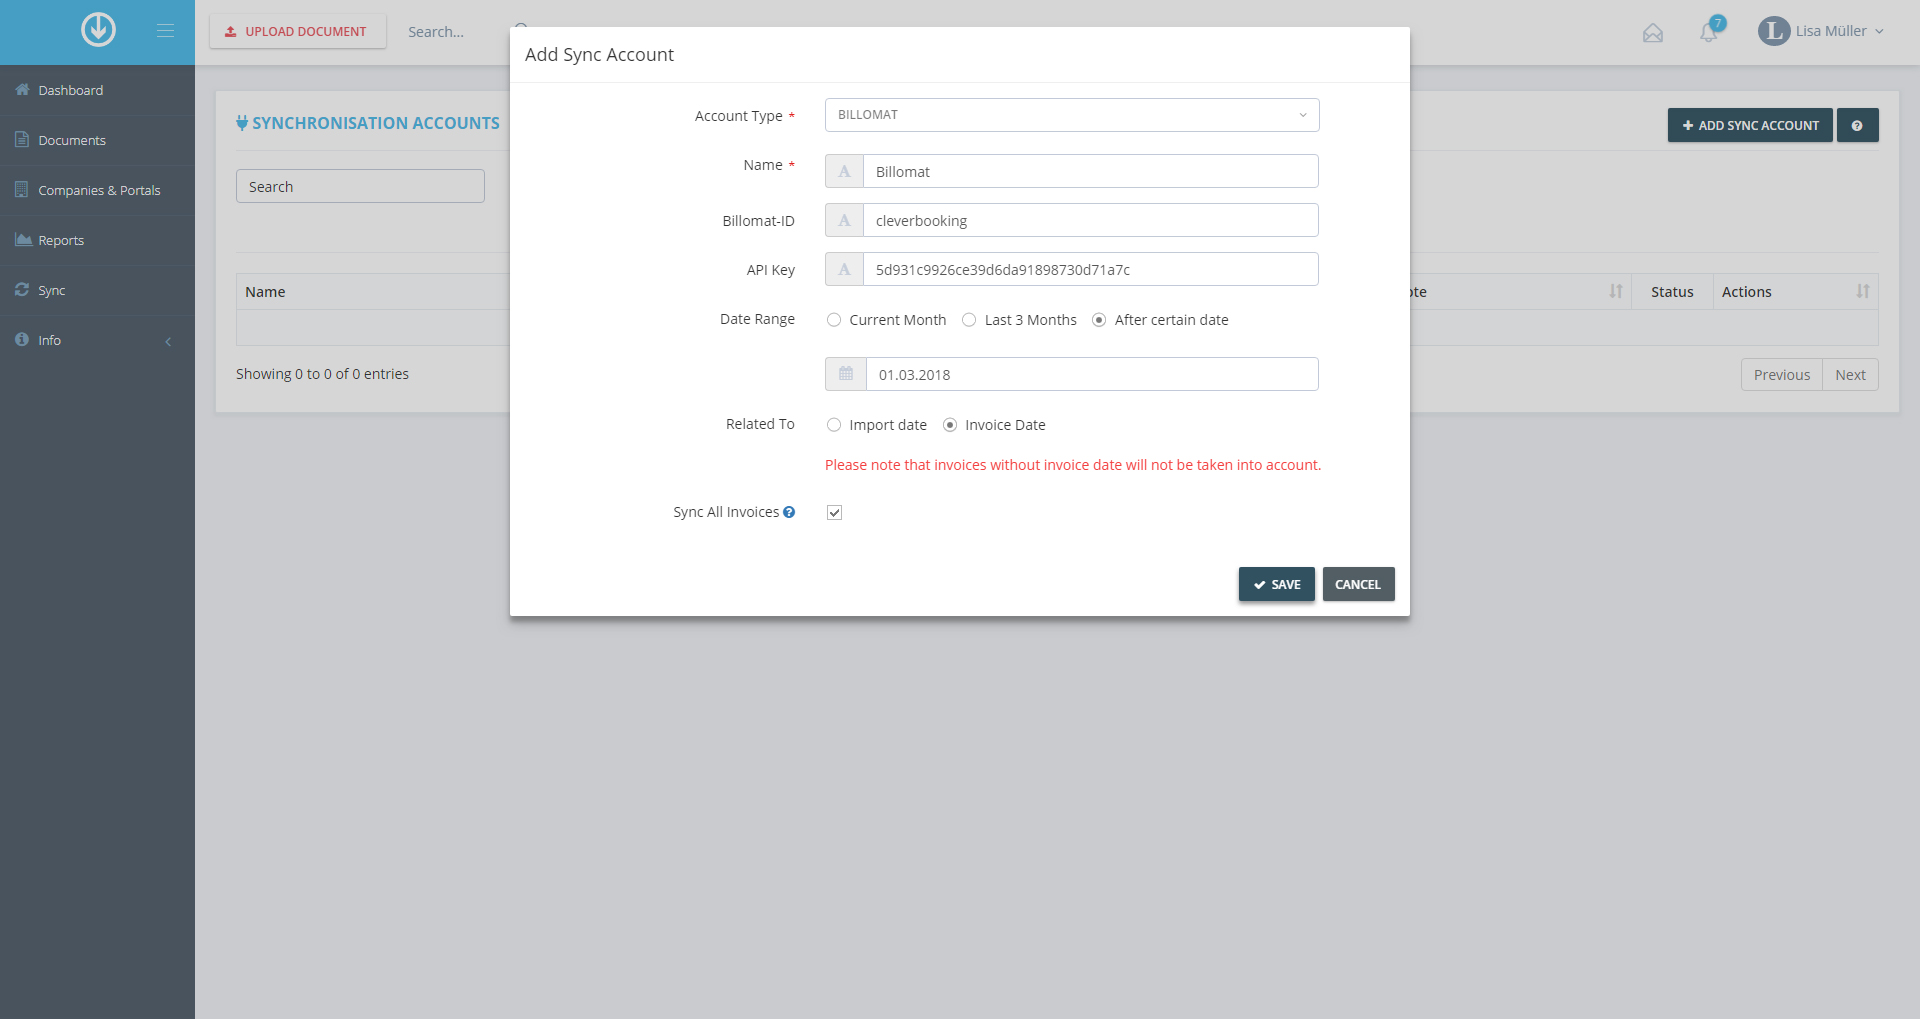
Enter the account type and name > Enter your Billomat ID! You will receive it by logging into your Billomat account and copying the part before “.billomat.net” from the browser bar. > Enter the API Key! You’ll find it in your Billomat account; under “Settings” activate the API access and click “Show API Key”. > Define the time period for the export documents > Click “Save”!
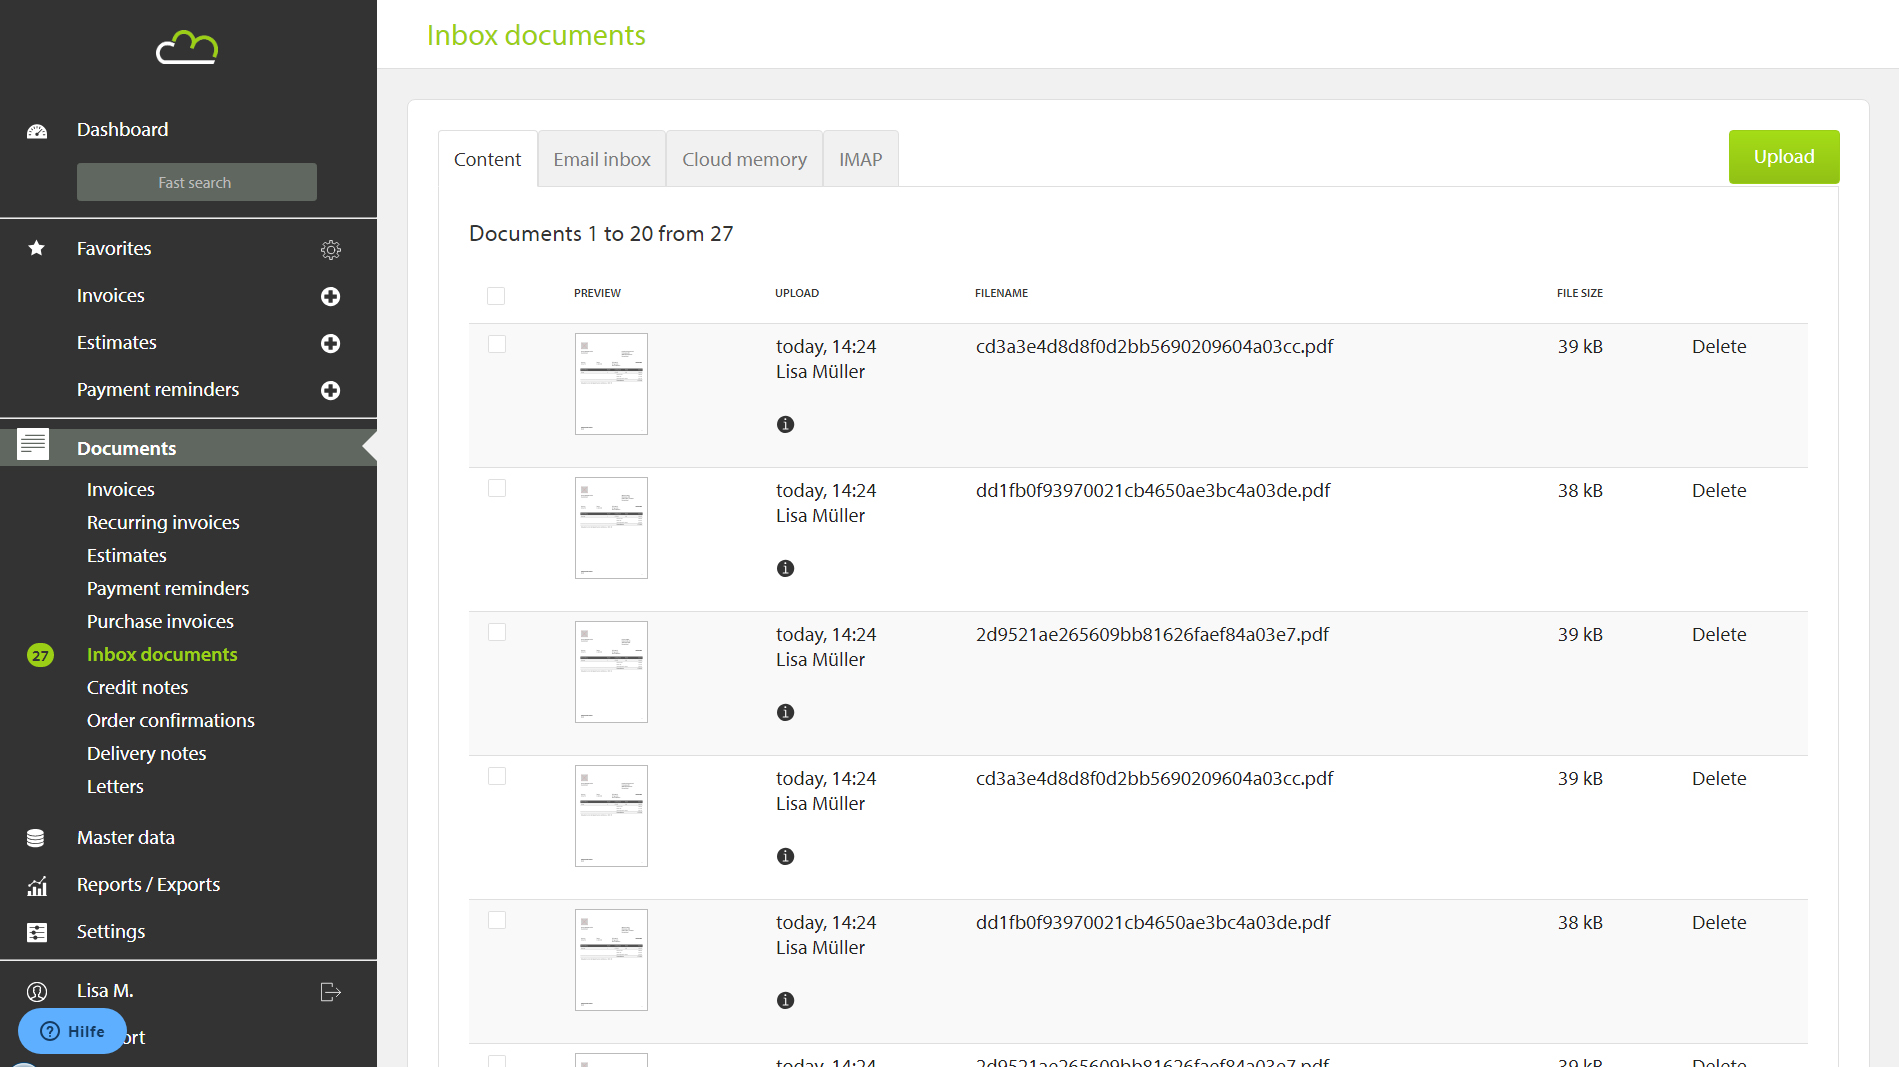
It will only take a short time until you can see the synchronization information under “Synchronization” in the main menu, and later you can see the exported documents under “Inbox Documents” in Billomat. > That’s it!
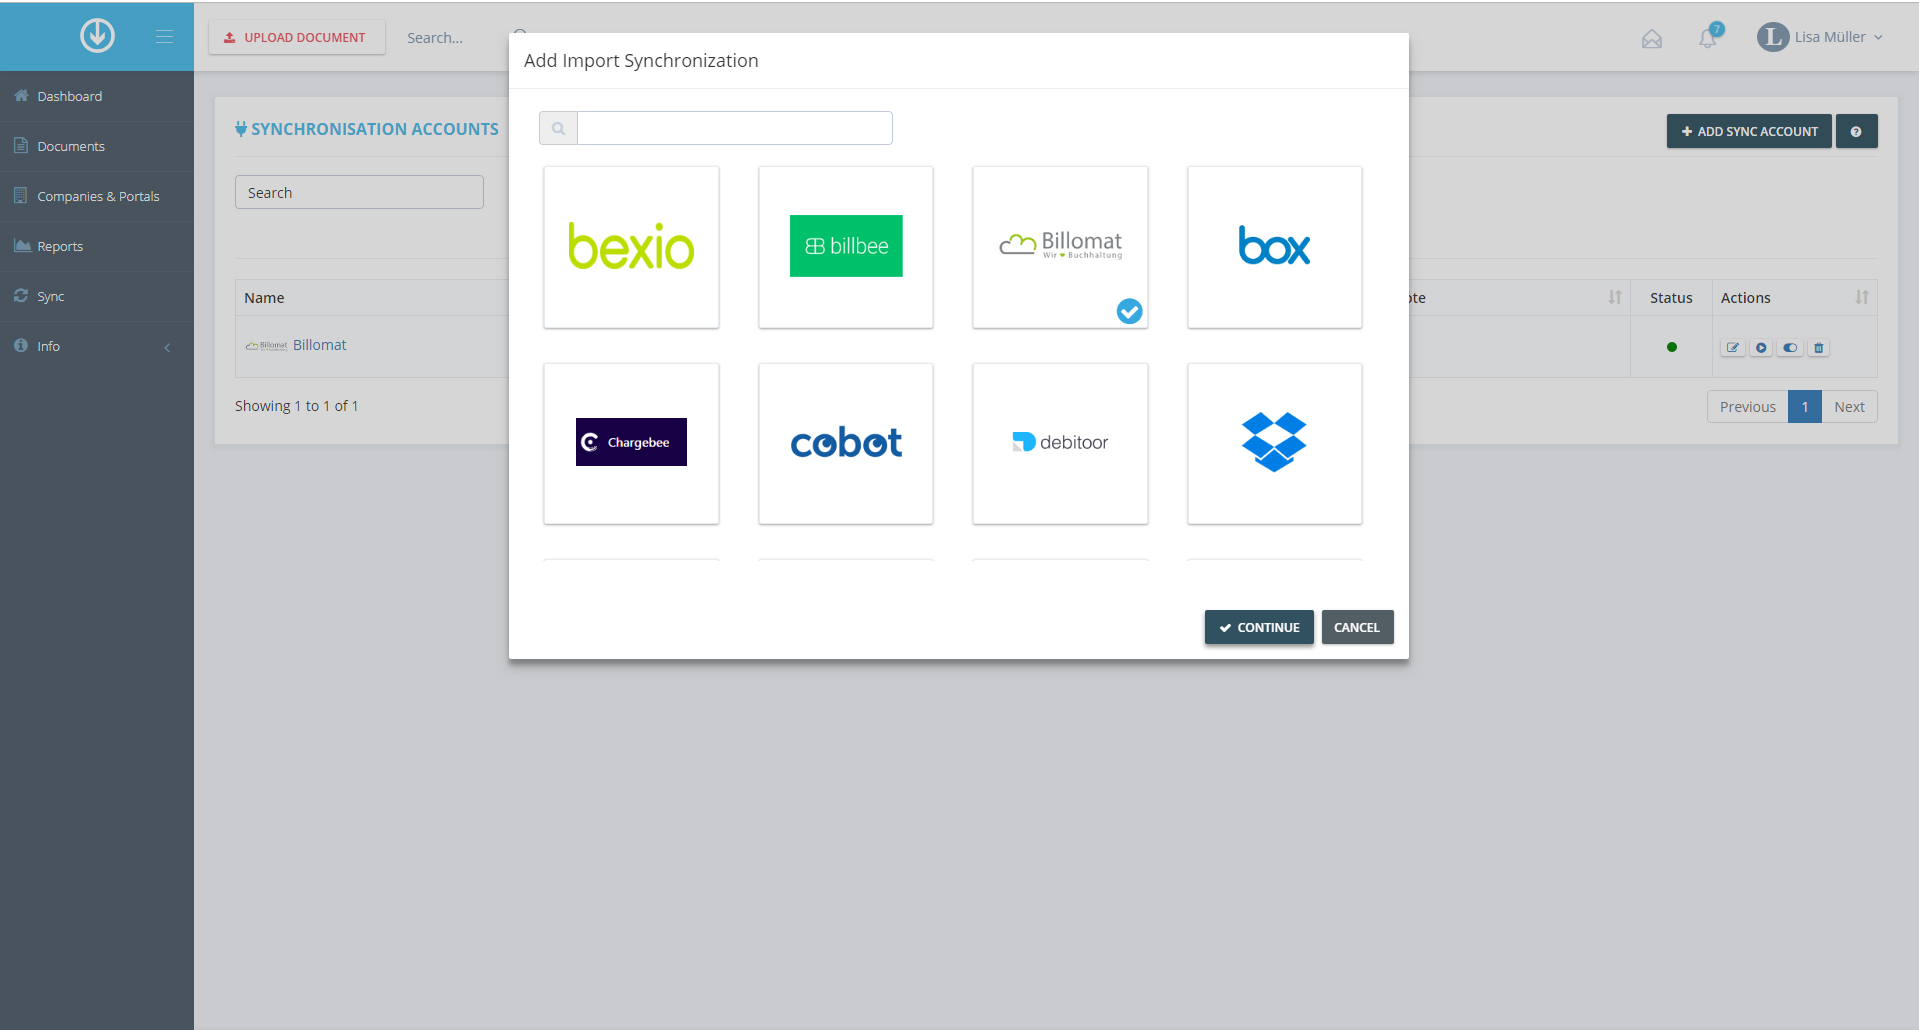
Login to GetMyInvoices > In the right-hand menu, choose “Synchronization” > Click “Add Synchronization Account” > Click “Import”! > Choose Billomat> Click “Continue”!
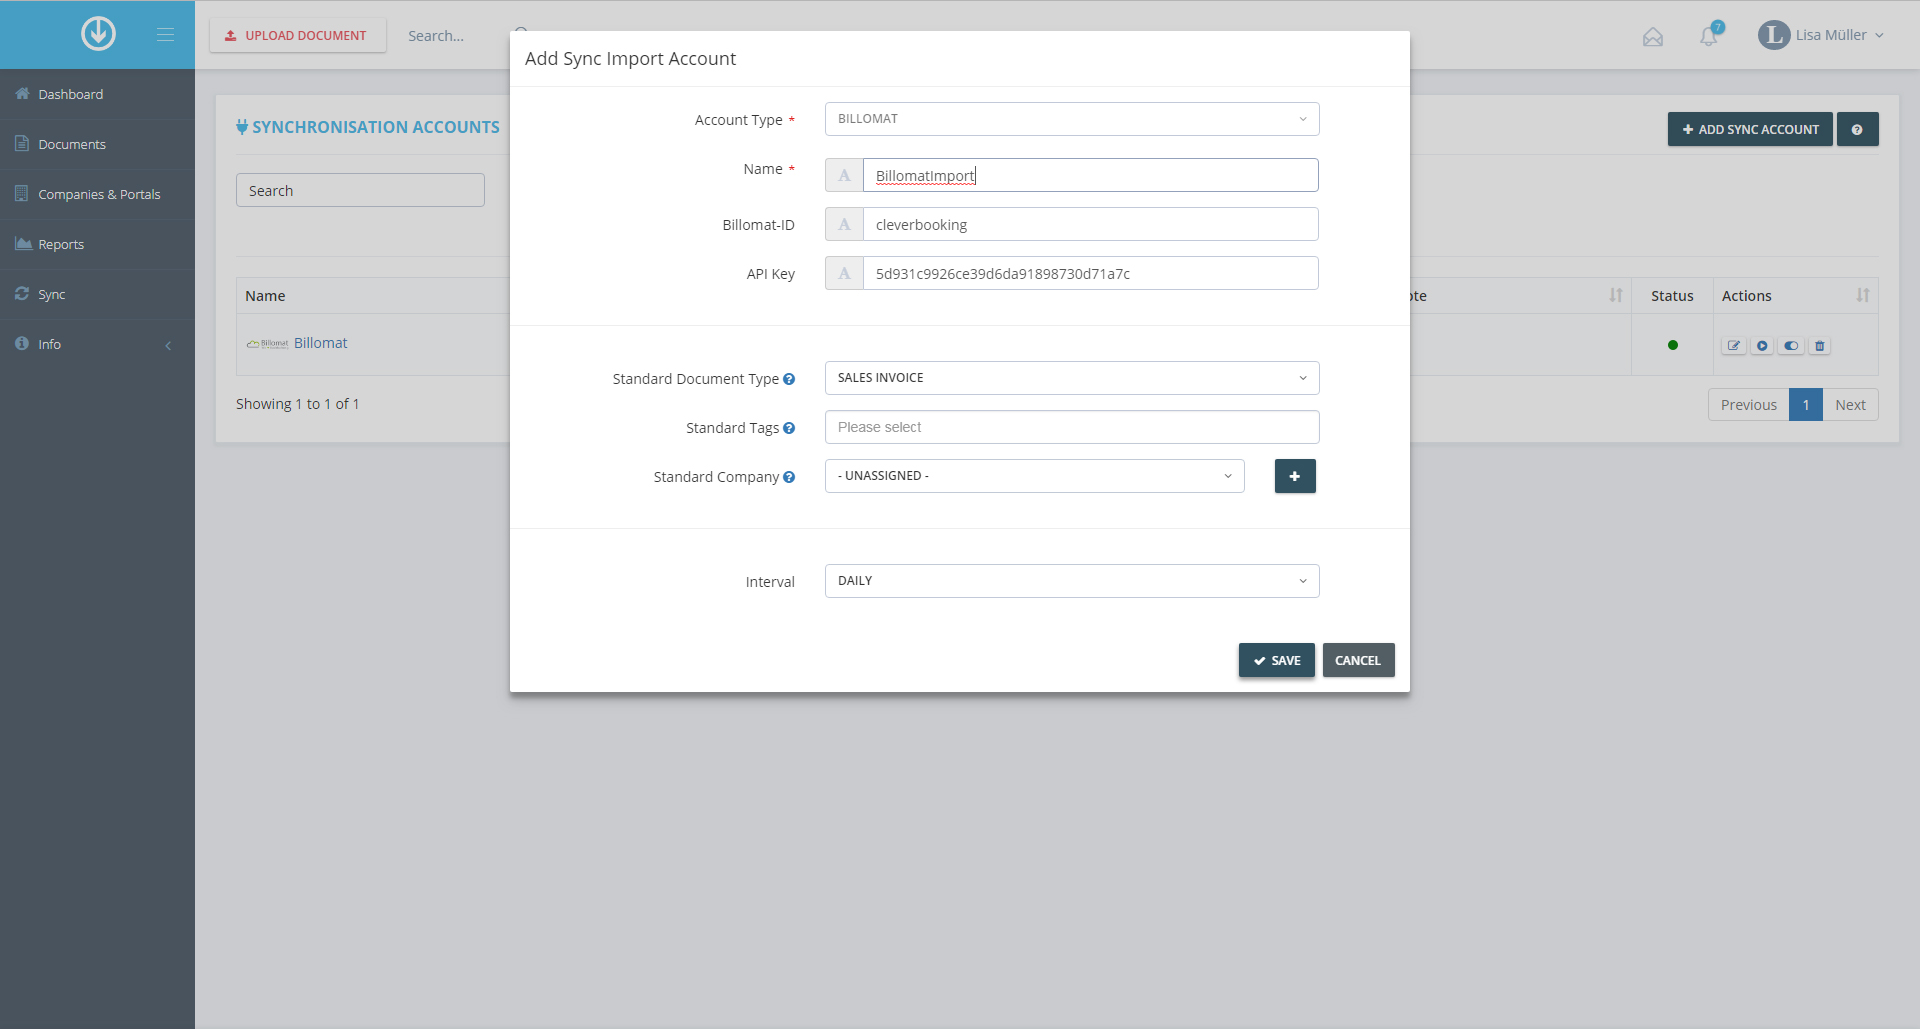
Enter a new name for the account > Enter your Billomat ID! You will receive it by logging into your Billomat account and copying the part before “.billomat.net” from the browser bar. > Enter the API Key! To find it, activate API access under “Settings” and click “Show API Key”. > Fill in the fields “Standard Document Type”, “Standard Tags” and “Standard Company” > Specify the synchronization time interval > Click “Save”
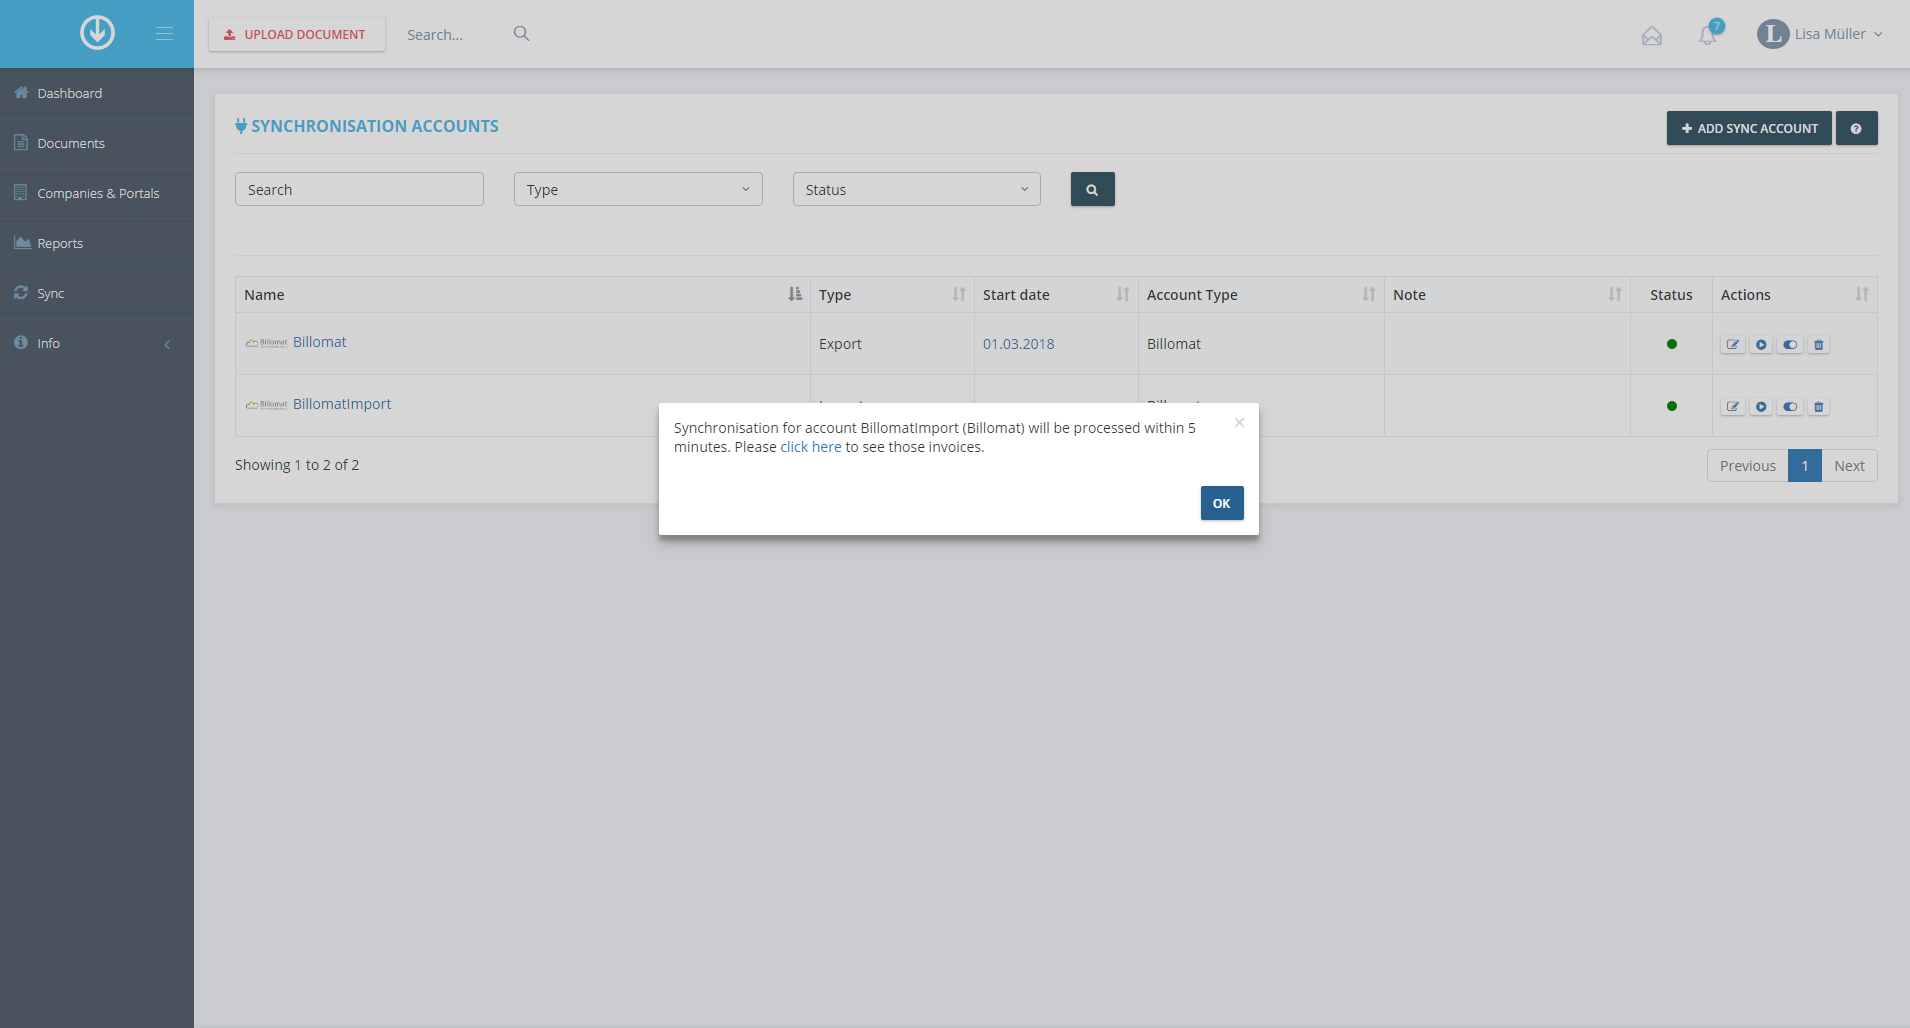
It will only take a short while before you can see the synchronization information under “Synchronization” in the main menu, and a little while longer until you’ll see the imported documents. That’s it!
Billomat is a web-based accounting software for start-ups, enterprises and self-employed. By means of SSL-coded cloud technology and a mobile app, it makes it possible to do the paperwork anywhere, securely and efficiently – or rather, to automatize bookkeeping. The features include creation of invoices, automated dunning process, link to the business account to automatically square incoming and outgoing transactions against receipts, and DATEV export to the tax consultant.
Using the export interface in GetMyInvoices, the documents automatically gathered in the invoice management solution can be transferred into the accounting software without any manual effort. Via the import interface, documents get from Billomat to GetMyInvoices. From there they can be automatically sent into numerous other solutions for further processing, if required.