Log in to GetMyInvoices > Select “Synchronizations” in the right-hand menu > Click on “Add Synchronization” > Click on “Export” > Select Salesforce > Click on “Continue”!

If required, add a note > Click on “Extended Settings” > Specify the document types and tags that are to be exported, if necessary activate the approval field > Decide whether the documents should be archived in GetMyInvoices after the transmission > Click on “Continue”!

Log in to your Salesforce account > Authorize the access by clicking on “Allow”!
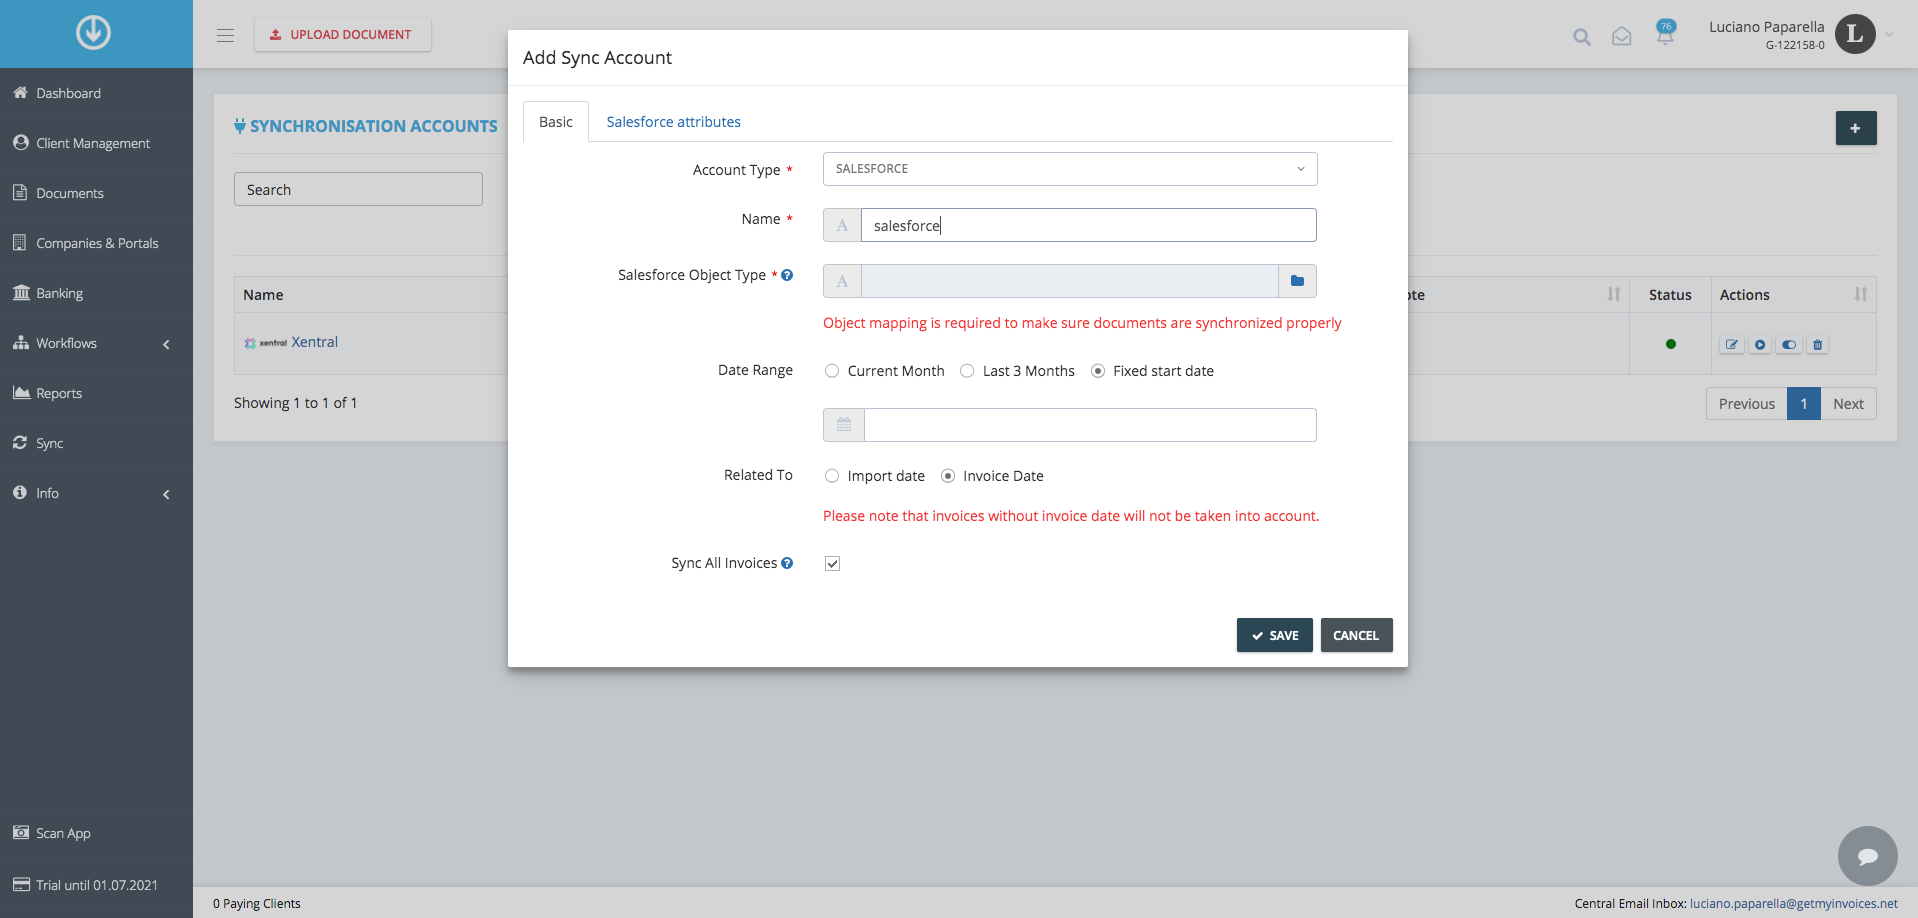
Enter the account type and account name > Define the Salesforce object type! To do this, a custom object has to be set up in Salesforce first, to which the documents and data will be subsequently transmitted > Define the date range of the export documents > If required, select Salesforce attributes that you want to link to GetMyInvoices attributes in the underlying window > Click on “Save”!
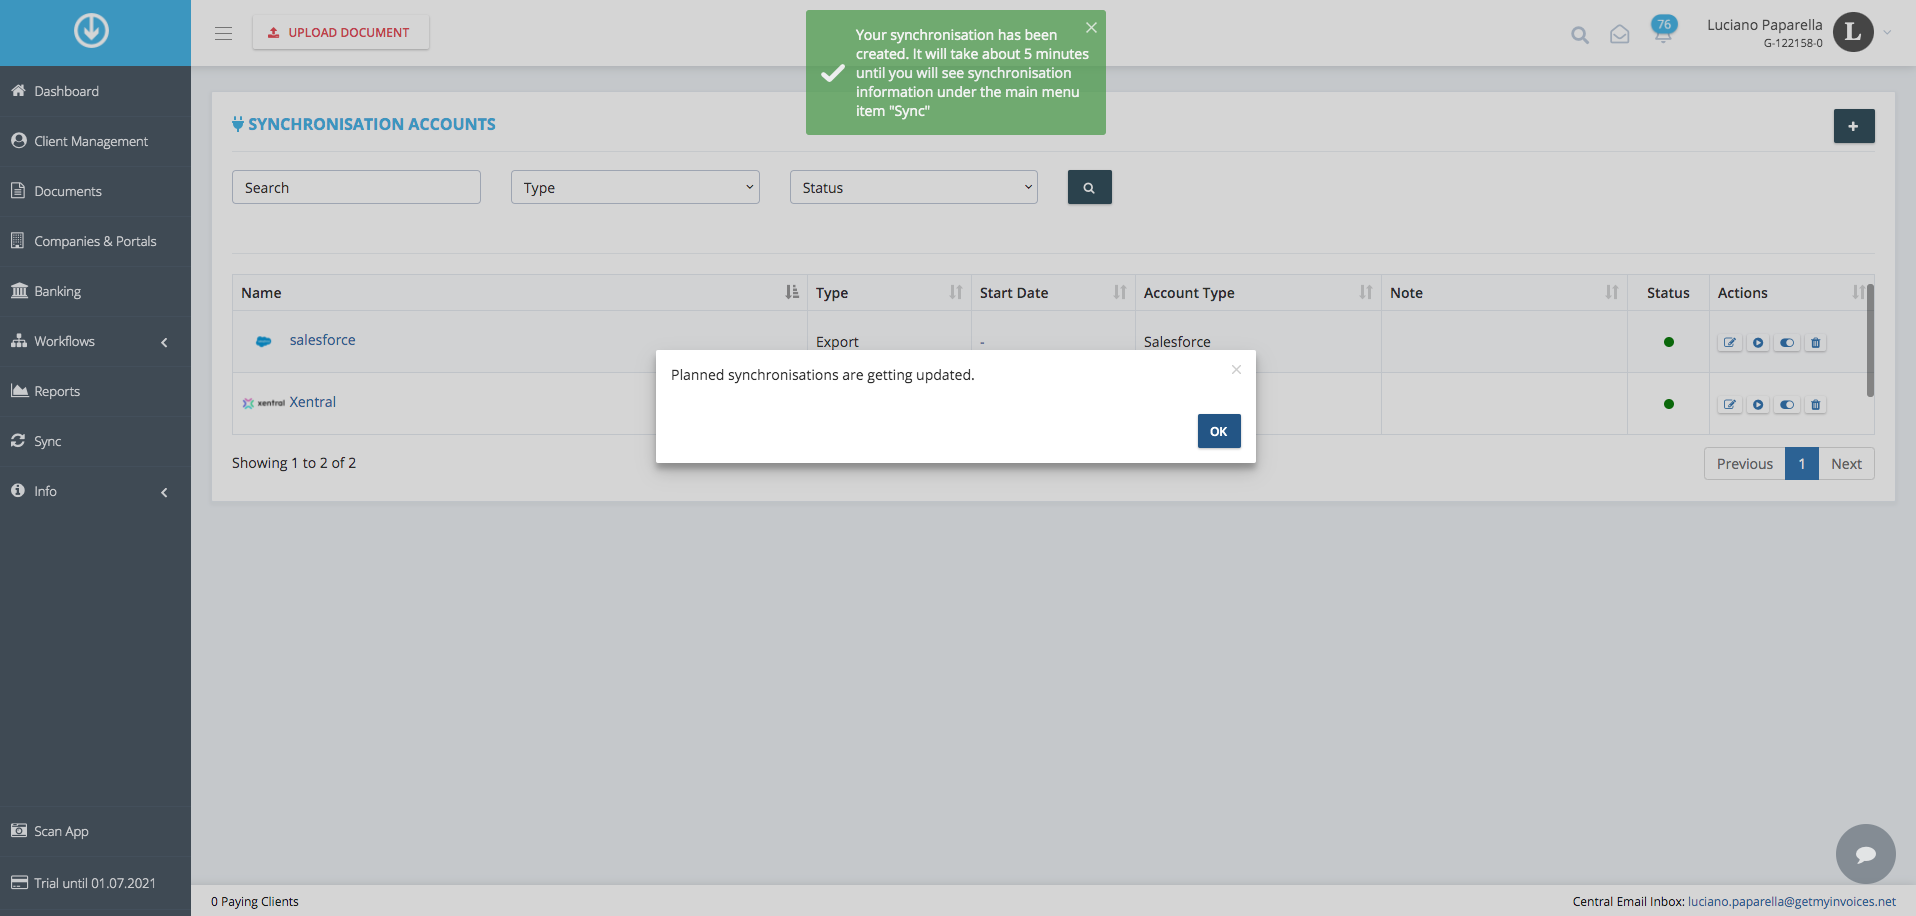
It will only take a little while until you can see the synchronization information in the main menu under “Synchronization”, and the exported documents in Salesforce shortly after that > That’s it!
Salesforce is a cloud-based CRM platform for distribution, customer service and marketing. It connects all departments with each other and provides all employees in a company with the same view of their customers, so they can interact with customers in a uniform, consistent way – who thus receive the perfect customer experience. More than 150,000 companies of all sectors and sizes already trust in Salesforce.
When you set up a synchronization to Salesforce in GetMyInvoices, you are able to import all of the automatically gathered documents from the invoice management solution to Salesforce without any manual effort.